


You know the feeling when you’re on-the-go out on the road hustling from meeting to meeting or job site to job site and that little red petrol light flicks on? Yeah, I think we all know that feeling.
So, you pull into your local Shell servo and it looks a little busy, but you find a free pump. You fill up, you grab your wallet and start walking inside and see a huge queue to pay.
“I don’t have time for this!” you sigh in frustration,
Queuing to pay for fuel is a hassle and a half, and that’s where the Shell Card GO app comes in and saves the day, making your next fuel stop as quick and effortless as possible.
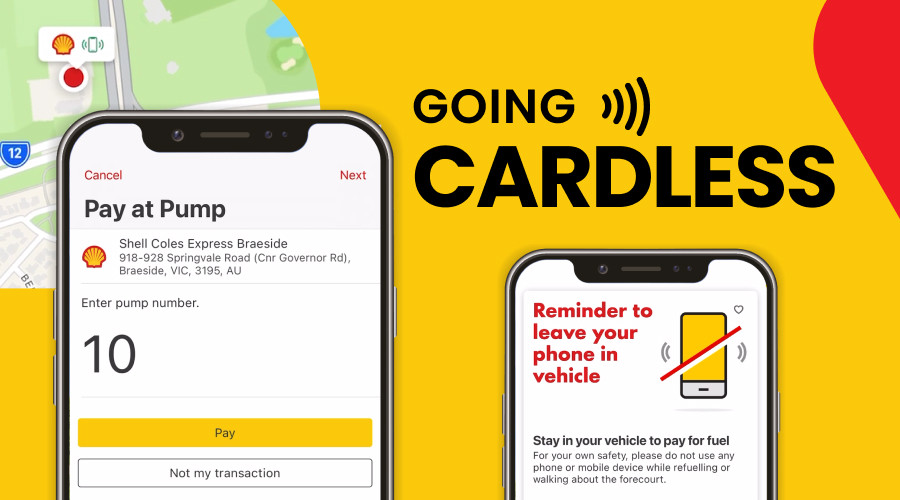
Shell Card Go is a mobile app that allows Shell Card holders to pay at the pump using a mobile phone, giving you the convenience and speed of contactless payment.
It’s that easy. Fill up. Hop back in your car. Choose the Shell Coles Express location you’re at and tap ‘Pay at Pump’. Drive away and onwards towards your next meeting or job.
Not to mention with the Shell Card GO app you can also review past transactions, locate service stations that accept mobile payment, and redeem exclusive digital offers.
We use and love the Shell Card app, so here’s our handy guide to make the most out of it.
How to Use the Shell Card Go App
Quick Step by Step
Here’s a quick step by step guide to using the app.
- Refuel as normal, leaving your mobile phone in your vehicle.
- Return to your vehicle and open the app homepage.
- Make sure the correct Shell Coles Express is selected and it accepts mobile payment.
- Tap on “Pay at Pump”.
- Follow the prompts:
- Select the pump number and confirm the transaction.
- Select which Shell Card is to be used (if more than one).
- If required, enter the Odometer/Order Number.
- Wait for the app to finalise the transaction.
- Close the app and drive away.
Now, a more in-depth look at setting up your Shell Card GO app.
1. Download the app
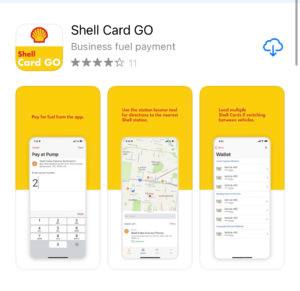
If your Fleet Manager hasn’t sent you an email with instructions on how to access the Shell Card GO app, simply download the app from the App Store or Google Play and add it to your phone. Your Fleet Manager will be contacted automatically to confirm your access.
2. Login or register
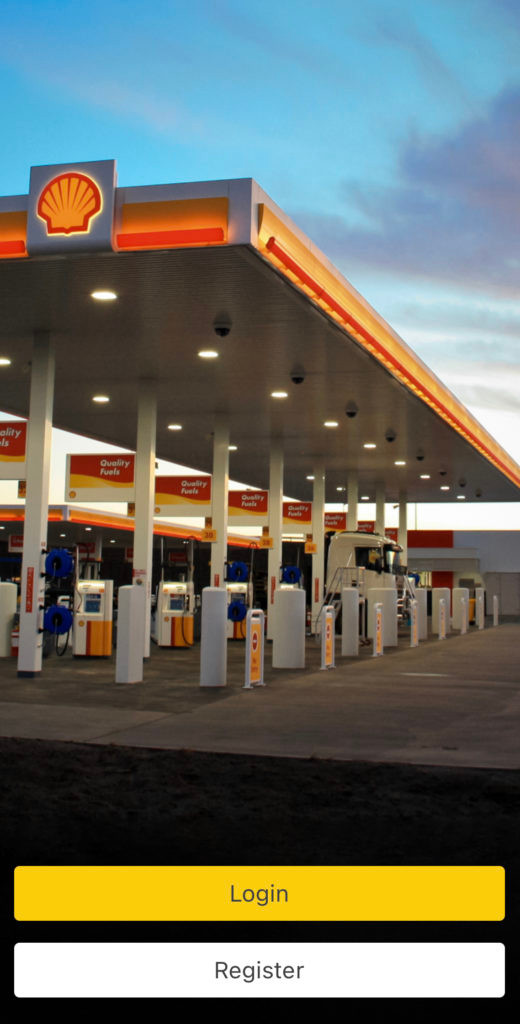
You’ll be asked to log-in or register with an email. Then you’ll follow the basic steps to create a profile. Or, if you have a log-in to the Shell Card portal online, you already have a profile and it’s the same username and password details.
3. Add a Shell Card
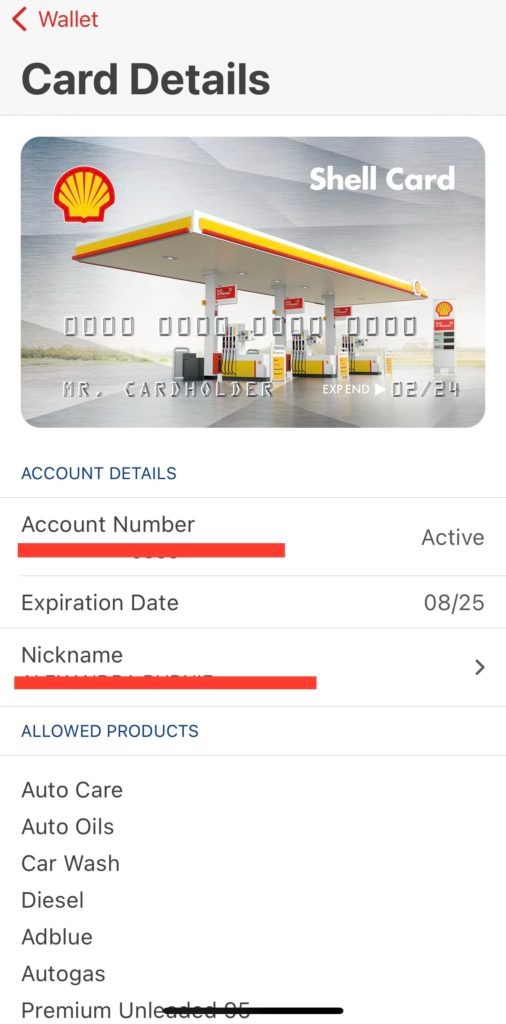
Once you’re logged in on the app, you go to the bottom where it says payment methods, which will take you to your Shell Card GO wallet. You can add your Shell Card details here, or any other card you’d like (including recently AMEX).
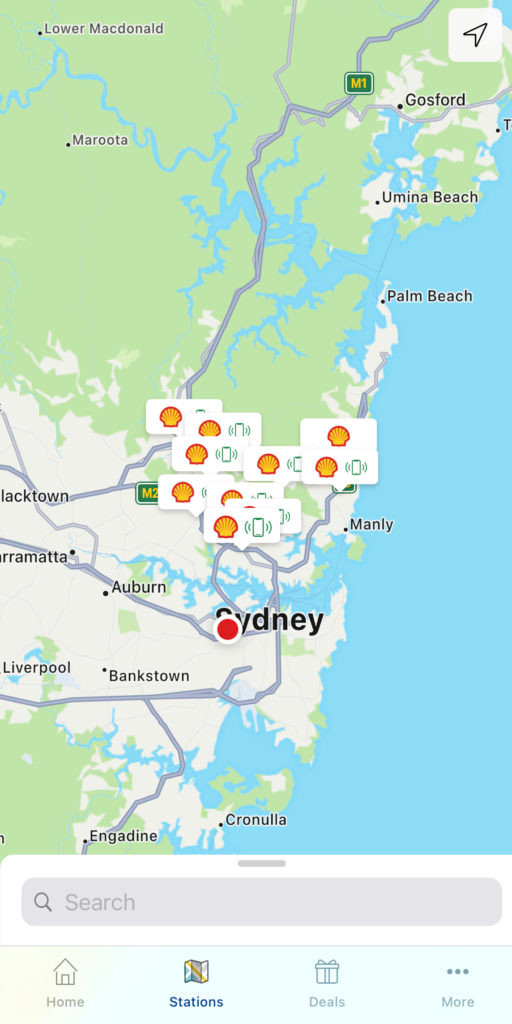
4. Find the Nearest Station
There’s another tab down the bottom called Stations, where you can find your nearest station. You’ll need to have location services on for this to work.
5. Fill Up (& Find a Deal)
Now all that’s left to do is fill up, get back in your car and pay via the app.
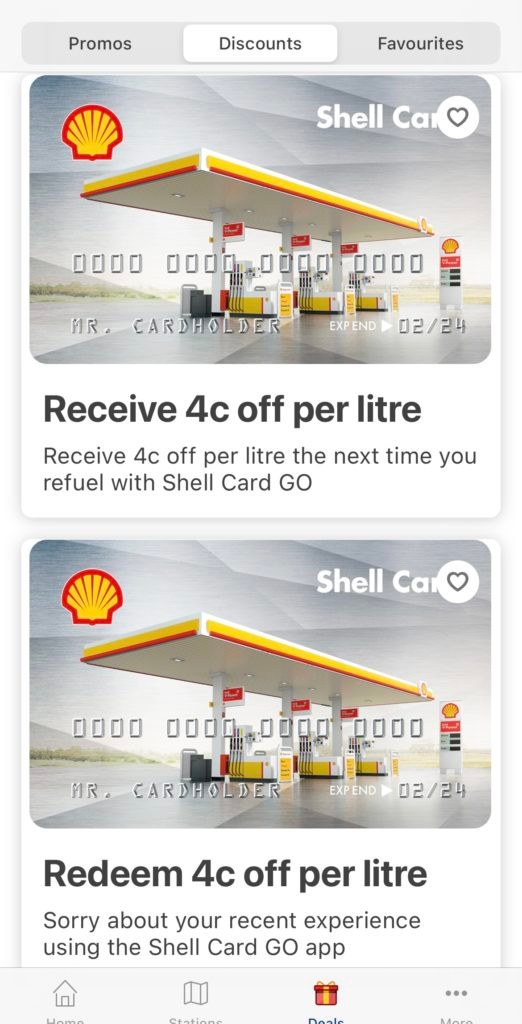
You can’t add discount dockets to the app unfortunately, but you can find various deals inside the app, like this 4c/l off promo when using the Shell Card app.
Benefits of Using the Shell Card GO App
- Contactless payment from the vehicle – drivers don’t have to queue at the checkout.
- Ability to load multiple Shell Cards if switching between vehicles.
- In-app transaction history allows quick referencing.
- Sales dockets are emailed for additional fleet management control
Shell has a pretty handy explainer video too if you need extra help.
If you’re a Shell Card customer and you haven’t invited your drivers to use the app, login to the Shell Card Portal. You can do it all from there, and you’ll find easy-to-follow instructional videos to show you how.
RELATED POST